
How I Edit an Image to Make a Photograph More Beautiful | Baby Children Photographer Glastonbury, Connecticut
I find that when I talk to people about editing photos, their eyes glaze over. And I find there are three reasons why; its either a) too technical and comma inducing, b) do you have to remove cars or something from the photo? Didn’t you notice it was there before you took the picture? or c) well, my pictures look great straight out of my camera, so what’s the big deal.
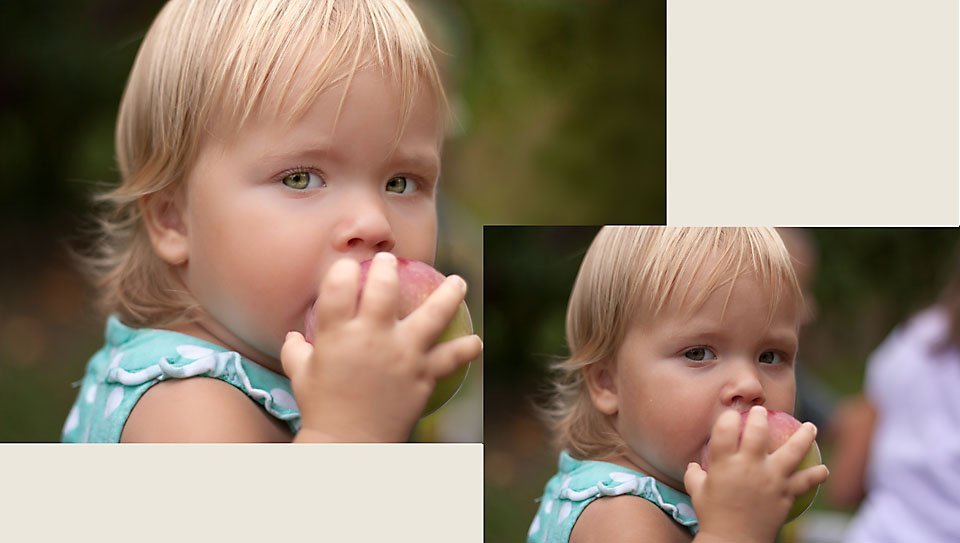
So I thought I would share one of my images and my process for going from the “straight-out-of-the-camera” or SOOC version of the picture to the gorgeous end result. So here is a screen shot of what my image looks like in Photoshop with all of its layers and edits.
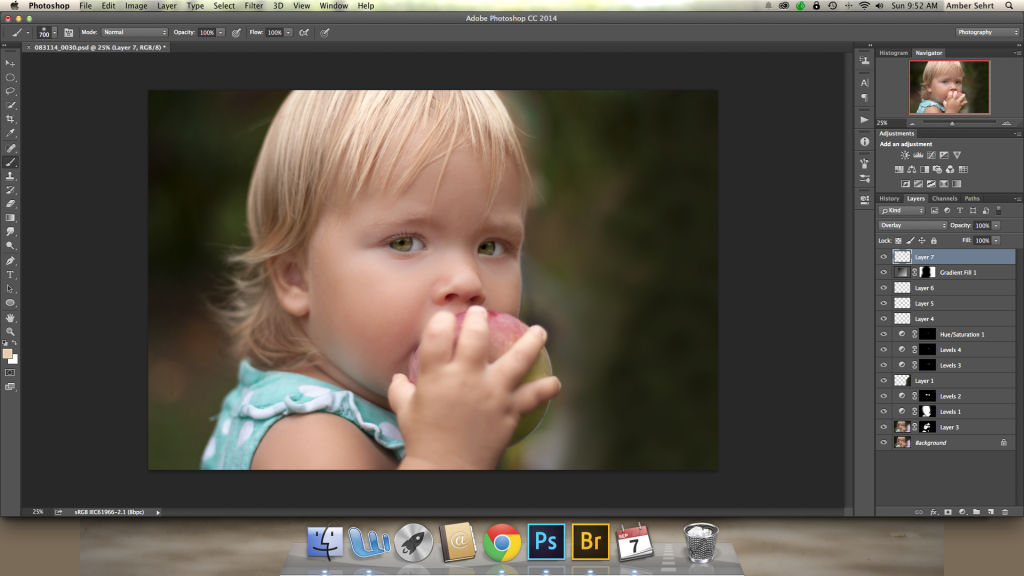
Layers are a lot like the clear transparencies our teachers used in high school. You can literally lay tons of them down on top of each other and add just little things to each one so that you can still see the original image, and all of the enhancements all at the same time.
The first thing I did was smooth out her skin a bit so that it would be nice and creamy the way it looks in real life. The camera brings out so much detail that we normally don’t even notice with our eyes, so making the skin look more natural is just more appealing to the eye.
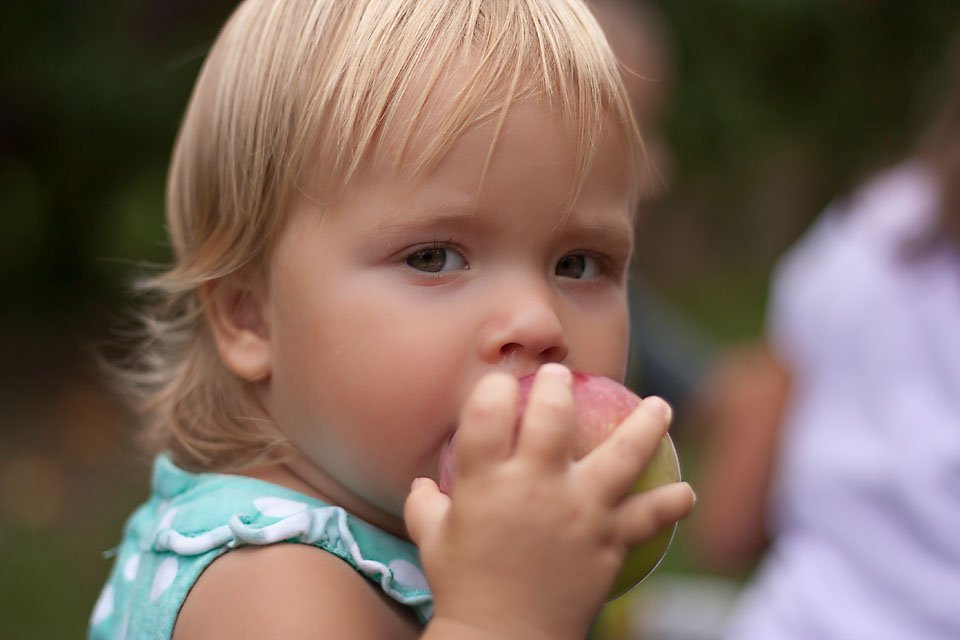
Then I brought up the exposure on her face. It was a great cloudy day that made the light nice and even, but because we were tucked into a small lane between the trees it was a little dark. I like the background being darker, but in order for her little face to pop out more some brightness is needed. Next I brightened her eyes so that your eye goes to them first.
Cherub has the most amazing green/grey eyes, but they can get lost if you don’t brighten them up. So I brought the exposure up on them as well with a tool called levels. I did this about 3 times with my emphasis on different areas of her eyes so that the color in them really comes out.

Now Cherub had a cold and a runny nose, as most babies tend to do. So I cloned out the yucky part and replaced it with clean skin. She also had dark circles under her eyes since she hadn’t been sleeping well. So I simply painted a brighter skin color under her eyes very lightly, and it brightened those spots right up.

Finally, my little blonde’s eyelashes can get completely lost in photos. So I pick the darkest color I can find in her lashes and then with a brush shaped like an eyelash, I paint in new ones. This can be a tedious process, but it makes a huge difference when done right.
 Now that I was happy with her, since she makes up most of the photo, I turned my attention towards the background. Since four kids were running around in this tight space, a little photo bomb was to be expected. So I simply cloned part of the natural background right over the child that I wanted to remove and then blurred out that cloning so that it matched the rest of the natural background. I did paint a few spots of color around her head to match the background as well, as they were a bit lighter than I wanted and distracting. But as I got it right in my camera, I didn’t have to do much else to the background.
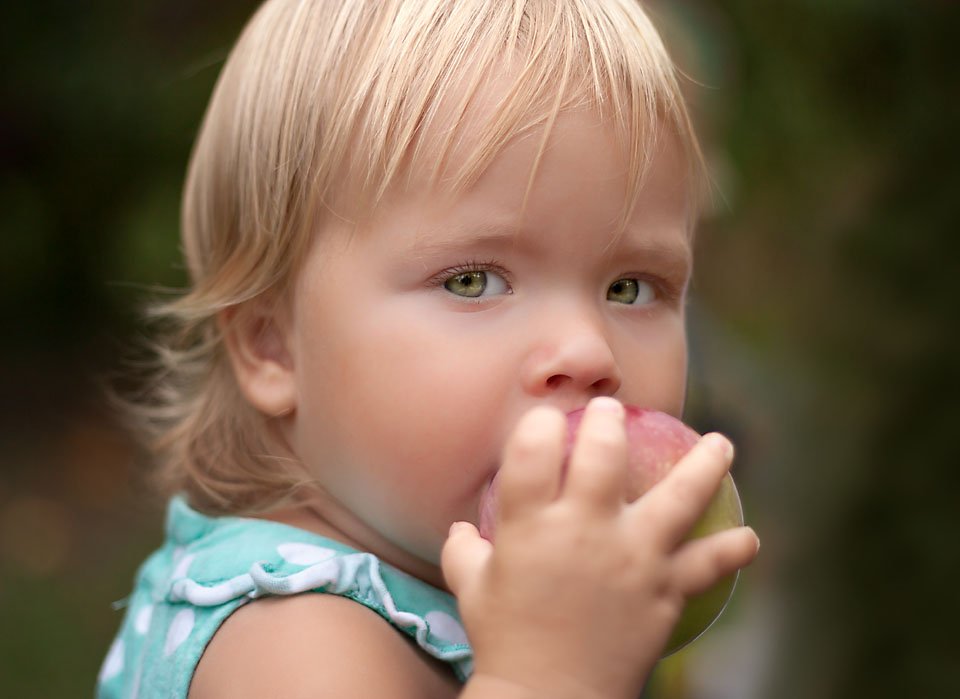
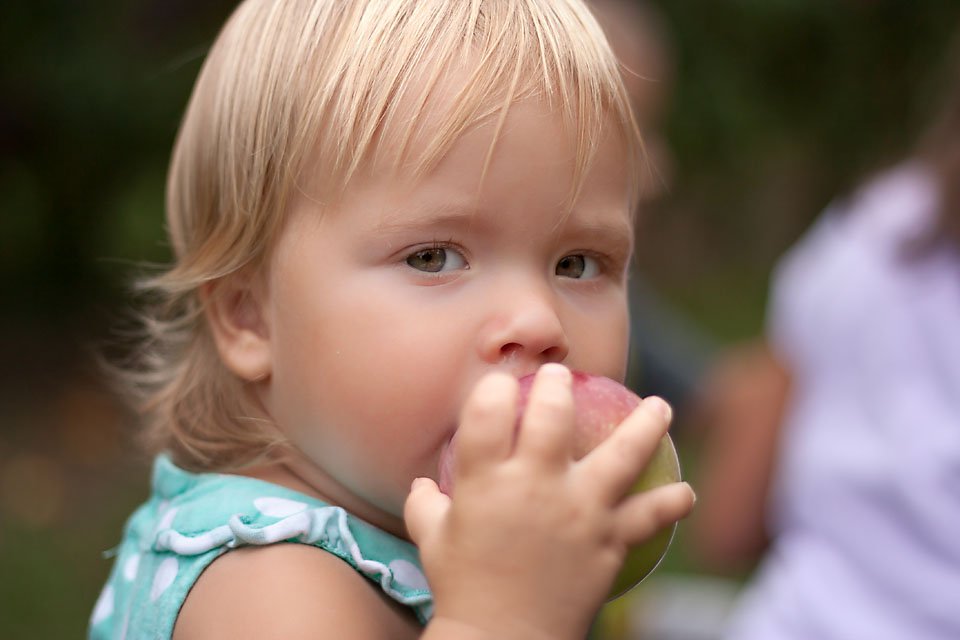
So that it’s it! Took me about 10 minutes (all completely interrupted with, “Mom can you do this for me” over and over again), but I absolutely love the result. There are a thousand different things you could do to this photo to take it in a different direction, and that’s what makes it art! It’s also exactly why picking a photographer whose style you love is so important. It ensures that you get images you really love to enjoy in your home and on your walls and not just snap shots that get shoved to the back of your hard drive.
If you like this post, leave me a comment and let me know. I’m happy to take you through other images that I do to show you more behind the scenes magic!
Perfect Portraits Guide: Master Stunning Photos in 2026 | One Big Happy Photo
[…] how editing transforms a RAW file? Check out How I edit an image for real-world examples and […]