
How to Take a Family Photo at Home: Poses and Tips
To take a family photo at home, set up near a large window in soft daylight, steady your camera on a tripod or stack of books, and pose everyone close together at slightly different heights. That's the whole recipe, and the rest is small adjustments that make the difference between a stiff snapshot and a picture you'll want to frame. If you have a newborn in the mix, you also have a built-in reason to keep things calm, simple and quick.
I'm writing this with new and growing families in mind, because your living room is probably where most of your real family life happens right now. Below you'll find the light, poses, settings and phone tricks that work, plus an honest look at when it makes sense to hand the job to a professional.
Start With the Light, Not the Pose
The best light for a family photo at home is soft, even daylight from a large window, and it matters more than any pose you choose. Hard overhead bulbs and flash create harsh shadows under eyes and noses, while window light wraps around faces gently.
Tamron notes that soft light from a large window, open shade or an overcast sky can reduce hard shadows in portraits. Samsung adds a simple rule for phone shooters: use natural light where possible, keep your subjects well lit from the front, and avoid strong artificial light behind them.
A few quick moves:
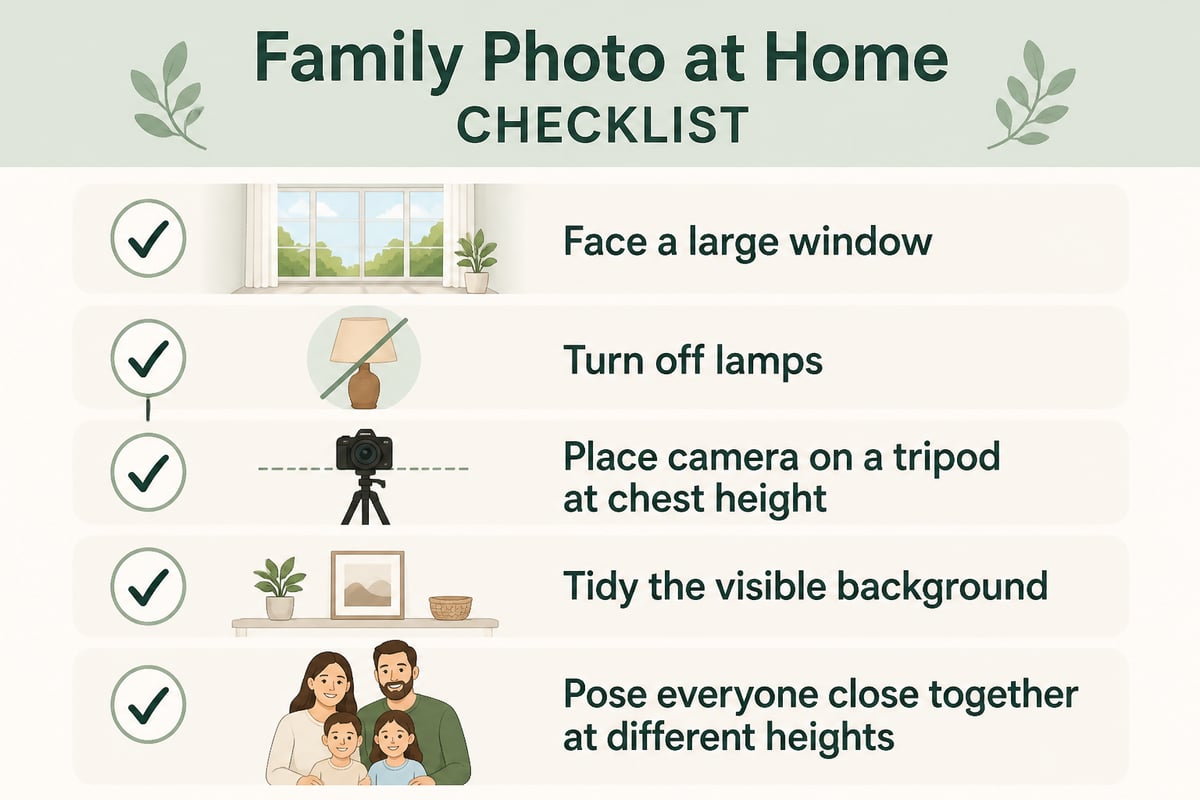
- Face the window. Everyone should face the light, with the camera between the window and the family, or slightly to one side.
- Turn off the lamps. Mixed light from bulbs and windows gives skin a patchy orange and blue cast.
- Skip the bright window behind you. A window behind the family turns faces into silhouettes unless you're going for that look on purpose.
- Pick your time. Mid-morning or late afternoon usually gives you the gentlest light, and it's often when a baby is awake and content anyway.
If your best window is in the nursery or a bedroom, don't worry about the room being "photo ready." A quick tidy of the area the camera can see is plenty.
How to Set Up Your Space and Camera
A good home setup takes about ten minutes: choose one clean wall or corner, put the camera on something steady at roughly chest height, and use a timer or remote so you can be in the picture.
Here's the order I'd follow:
- Pick the background. A plain wall, a bookshelf with a few things cleared off, or a neutral couch works well. Busy patterns pull the eye away from faces.
- Place the camera. Use a tripod, or prop your phone against books. Aim for chest to eye level so nobody is looking down their nose at a lens.
- Mark the spot. Put a pillow or a piece of tape where the family will sit or stand, then frame the shot and leave a little space around the group for cropping.
- Set the timer. Ten seconds gives you time to hop in. Burst mode catches the real expressions that come right after everyone relaxes.
- Take a lot of frames. Fifty photos to get three good ones is normal, especially with little ones.
If you're using a phone, turn on the gridlines to keep the horizon and walls straight. Adobe’s mobile photography guide covers composition aids like gridlines, HDR and portrait mode if you want to learn what each one does.
Camera Settings for a Group of People
For a family group, use a starting aperture between f/4 and f/8, and a shutter speed of at least 1/200 of a second so everyone stays sharp.
| Situation | Suggested starting point |
|---|---|
| Family in one row | f/4 to f/5.6 |
| Family in multiple rows | f/5.6 to f/8 |
| Calm, handheld portrait | 1/200 second or faster |
| Wiggly toddler or moving subject | 1/500 second or faster |
The logic is simple. A wider aperture (smaller number) blurs the background but can leave the back row soft, so the more rows you have, the more you close it down. A faster shutter freezes the blink, the grin and the sudden lunge for the dog.
If you're shooting on a phone, you don't control these numbers directly, but the same principles apply. Tap on a face to set focus and exposure, hold still, and give the phone as much light as you can.
Easy Poses That Look Natural
The most flattering family poses keep everyone physically close, at different heights, with a reason to smile that isn't "say cheese." Stiff lines of people standing shoulder to shoulder tend to look like a lineup, so build layers instead.
The Couch Pile
Everyone squeezes onto the couch, with parents on either side and children on laps or tucked in the middle. It's the easiest pose for a family with a newborn, because the baby can rest in someone's arms while everyone else leans in.
The Parent Sandwich
One parent sits on the floor with a toddler in their lap while the other kneels or stands behind. Different heights create a triangle shape, which the eye reads as a cozy, connected group.
The Walk and Laugh
Have the family walk toward the camera, from one end of the hallway or room, holding hands. Ask a silly question and wait for the laughs. These candid moments are often the favorites.
The Look-at-Baby Shot
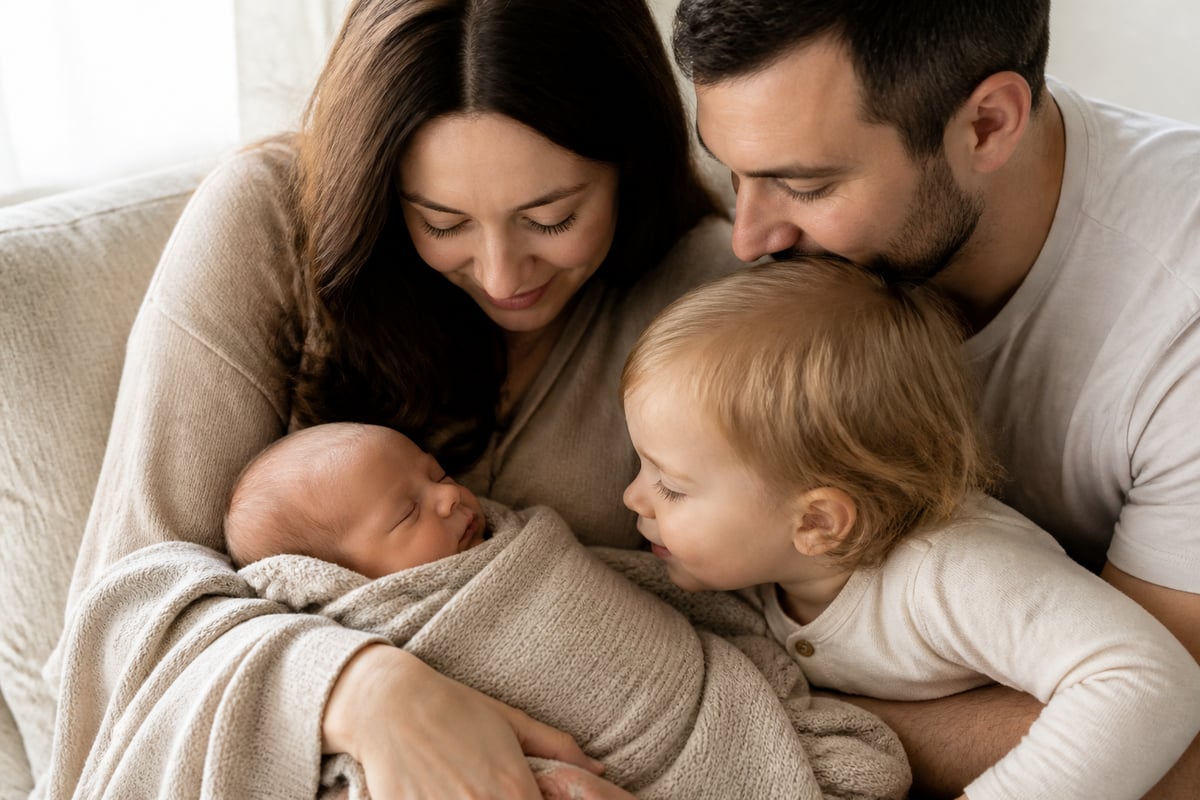
Everyone looks down at the newest family member instead of at the camera. It takes the pressure off, it's genuinely sweet, and it tells the story of this season of your life. If you'd like to see how a studio handles this, family newborn photography shows how siblings and parents are included in the portraits.
Pose Tips for Kids
- Give toddlers a job, like holding a blanket or a stuffed animal.
- Let older children choose where they want to stand.
- Take a few minutes of play first so the energy settles.
- Stop before anyone is melting down. A short session beats a perfect one.
For more ideas on keeping little ones happy in front of the camera, this look at family photos with young kids is a helpful read.
Using the Rule of Three in Your Family Photo
The rule of three is a composition guideline that says groups of three, and images divided into thirds, tend to feel balanced and pleasing to look at. Most cameras and phones let you display a grid that splits the frame into nine equal boxes, and that's your tool.
Here's how to use it at home:
- Place the family's eyes along the upper third line rather than dead center, which leaves room for the bodies below.
- Set the group off to one side and let a bit of the room, a window or a favorite piece of art fill the rest of the frame.
- Arrange in odd numbers when you can. Three clusters, such as two parents, two kids and a pet, feel more natural than perfectly even pairs.
You don't have to follow it every time. It's a starting point, and the best frames often come from knowing when to bend it.
Taking Family Photos Outdoors
To shoot family portraits outdoors, choose open shade or an overcast day, put the sun behind or beside the group rather than in their eyes, and let the family move around so the images feel relaxed.
If you'd rather head outside than stay in, a backyard, a park path or a quiet street works beautifully. Look for shade from a building or a large tree, which gives that same soft look you get near a window. The golden hour before sunset adds warmth, but only if you keep everyone's faces turned toward the glow.
Connecticut families have plenty of scenery to work with. Here are examples from a local studio:
- A fall session at JB Williams Park in Glastonbury
- Family photos by the lake in Bristol
- Family photos in the rain, a reminder that gray days can be gorgeous
Dress in layers, bring a blanket for a newborn, and keep the outing short. Babies and weather don't always cooperate, so plan to be flexible.
What to Wear and What to Avoid
Choose a calm color palette of two or three tones that complement each other, and skip anything with large logos or loud patterns. Your faces should be the first thing anyone notices.
- Go tonal, not matching. Cream, soft blue, olive and rust look lovely together. Identical outfits can feel like a uniform.
- Add texture. Knits, linen and cotton add depth without drawing attention away from faces.
- Keep everyone comfortable. An itchy sweater makes for a grumpy toddler.
- Mind the baby's layers. A simple, soft outfit or a swaddle photographs beautifully and keeps a newborn cozy.
Where Not to Put Family Photos in Your Home
Avoid hanging family photos in spots with direct sunlight, high humidity or heavy foot traffic, because these conditions fade, warp or damage prints over time. Bathrooms, kitchens near the stove and walls beside bright windows are the usual troublemakers.
Better places include a hallway you pass daily, the wall above a couch or the staircase, where the images can be seen and enjoyed without wear. Hang them at eye level, and group a few frames together instead of scattering single pictures across the house.
This is where print quality really matters. A snapshot printed at a drugstore lasts a few years. Artwork designed as finished wall art, like the framed prints and heirloom albums One Big Happy Photo creates, is printed and handmade in Italy to last for generations. For a look at how that plays out in a real home, see the formal family portraits the studio creates in Connecticut.
When to Take a Family Photo With a Professional
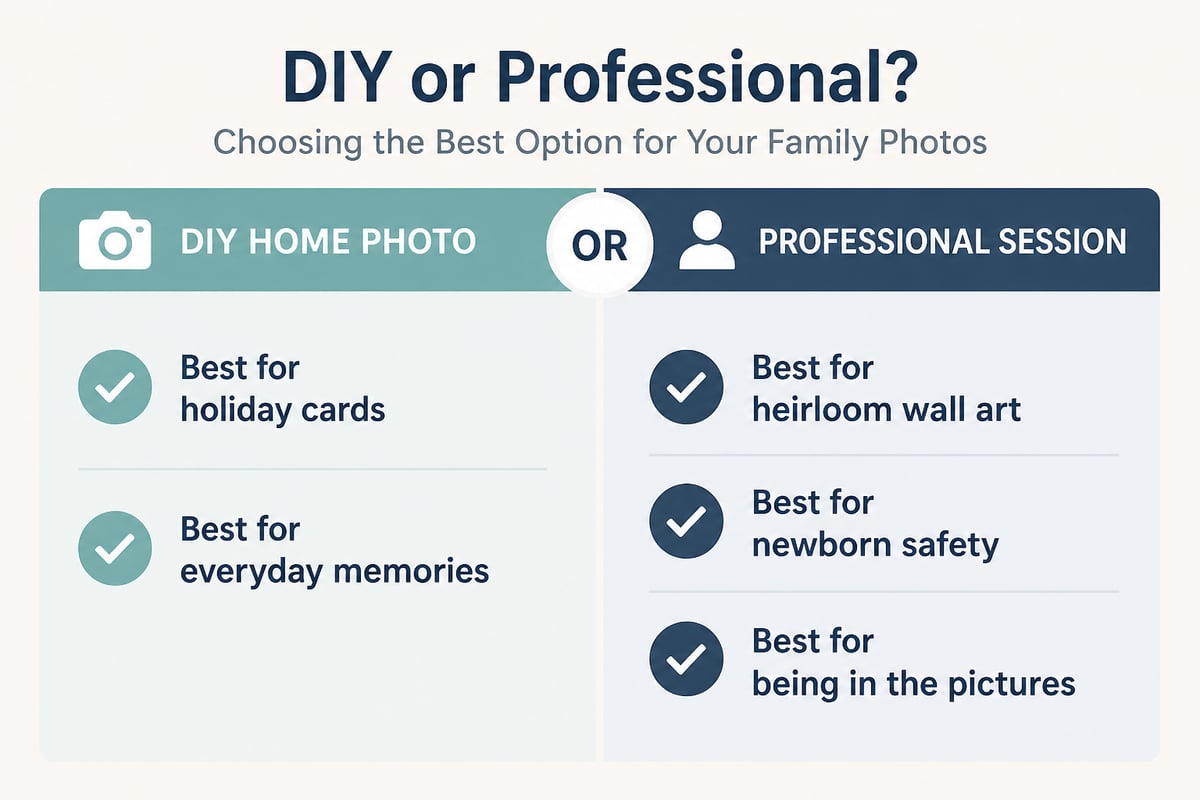
Hiring a photographer makes sense when you want heirloom-quality artwork and want to be in the pictures without running a timer. A DIY session is lovely for holiday cards and everyday memories. A professional session is better for the portraits you plan to hang for decades.
This is especially true in the newborn stage. Newborns need handling that's gentle and safe, and the first weeks pass faster than any parent expects. A CT newborn photographer who is newborn safety certified can keep the whole session calm, so you can enjoy your baby instead of worrying about the camera.
That's the approach at One Big Happy Photo. Amber Sehrt, a Connecticut newborn photographer with more than 12 years of experience, uses a gentle, baby-led approach that keeps little ones comfortable and secure, and she completes continuing safety education every year. Several of her photographs have received awards. Sessions take place in a private studio with a velvet couch, props, blankets and a refreshment bar, or in your own home. Families across Connecticut, New York and Massachusetts book Connecticut newborn photography sessions with her.
If you're expecting, the same goes for maternity. Planning ahead helps, and when to take maternity photos explains the timing. You can also browse the newborn portfolio and maternity portfolio, or see the studio's family and baby sessions. If you're comparing options, the family photo cost page is the place to look rather than guessing at numbers.
Not every family needs this. If you only want quick, low-cost digital files or a drop-in session, a home setup like the one above will serve you well.
FAQ
How much does it cost to get a family photo?
Cost depends on the photographer, the session length and what you order, such as prints, framed art or albums. A DIY photo at home costs nothing but your time. For professional pricing at One Big Happy Photo, check the family photo cost page or reach out through the contact page.
What is the best time of day to take a family photo at home?
Mid-morning and late afternoon usually give the softest window light. If your baby is calm and fed at those times, even better. Overcast days are also great, since the clouds act like a giant softbox.
How many photos should I take to get a good family picture?
Plan on taking dozens, then choose the best few. Use burst mode or a timer, keep the mood light and don't stop after the first round, since the best expressions often come when everyone starts to relax.
Your next step is simple: pick a window, set a timer and take ten minutes this weekend to capture your family exactly as you are right now. When you're ready for artwork made to hang on your walls for generations, request a reveal call with One Big Happy Photo, LLC and Amber will walk you through a calm, safe session in her Connecticut studio or in your home.